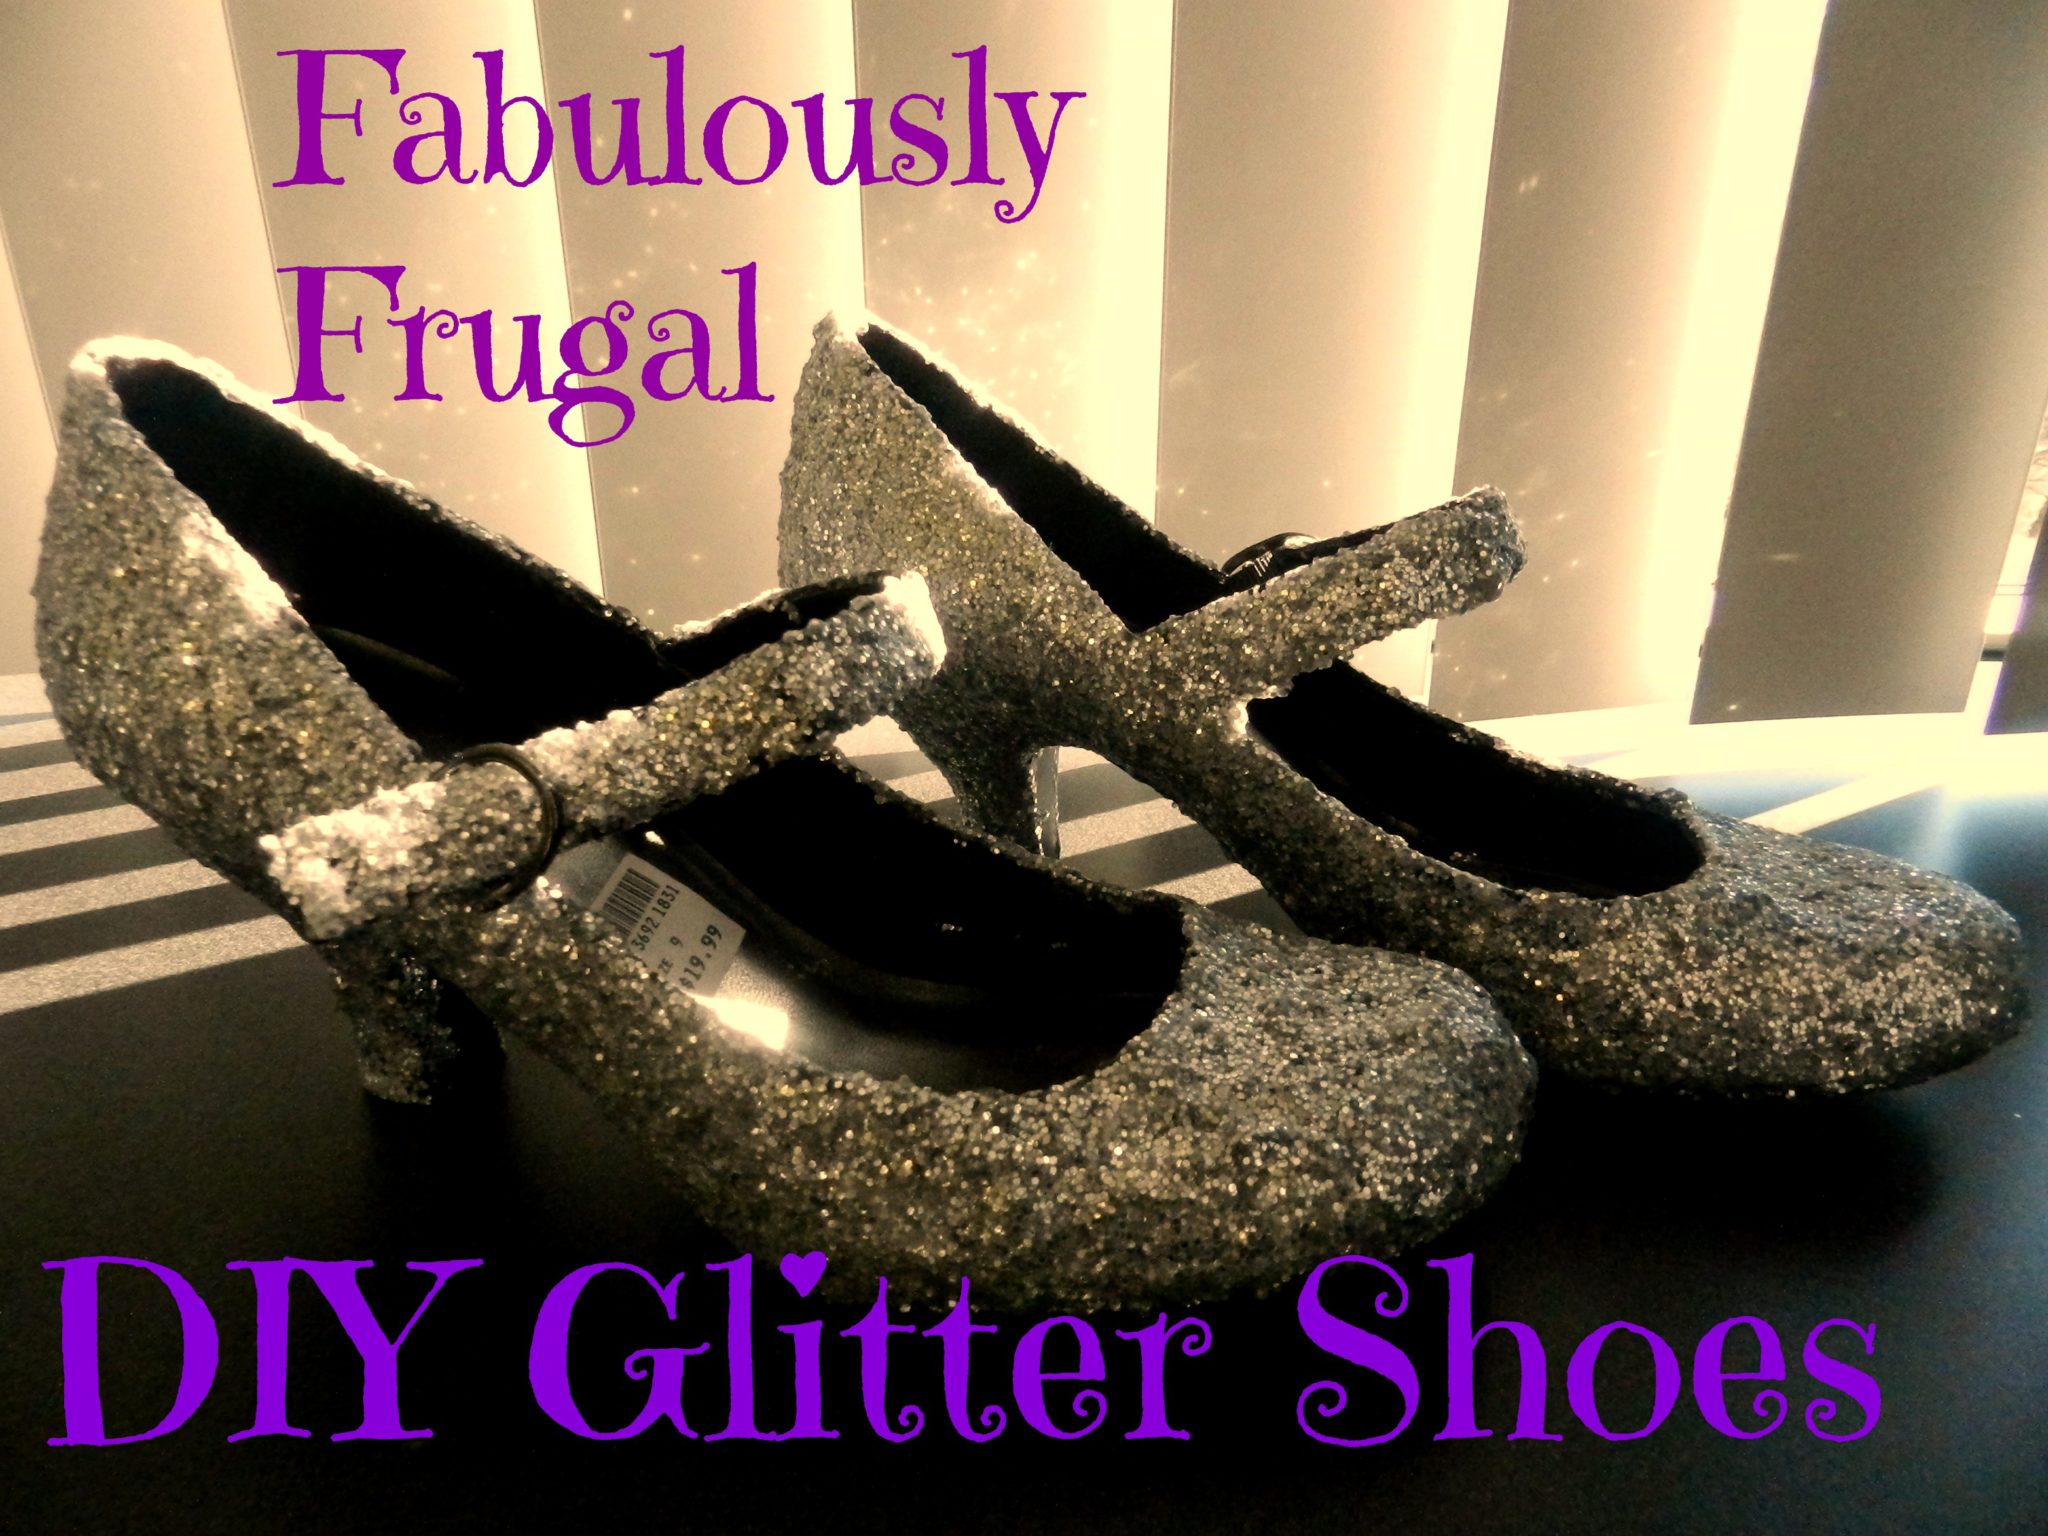
Glitter is everywhere! I have a seven year old daughter so it is all over my home. I need sunglasses to walk into Justice because of all of the sparkles. I go to the store and I see all kinds of glitter-fied products. Celebrities are wearing tons of glitter. Shoes are being covered in it by the hottest designers. Glitter is everywhere, and Pinterest is certainly no exception! Earlier this year I saw a glitter shoe tutorial being pinned and re-pinned like crazy on Pinterest, and thought I’d try it. I thought that if this works, I will save a fortune on shoes for my daughter!
I decided to try it out on an old pair of black Mary Jane pumps that I owned. I’d paid $15 for them at Target a few years ago, but hadn’t worn them much this year. They were targeted for the donation box, so it wouldn’t matter if they were ruined. And you know how much I love repurposing items instead of throwing them into the landfill!
What You Need:
- one pair of shoes
- one jar of modge podge or craft/fabric glue, clear gloss variety
- one large jar of glitter (I recommend a fine glitter, not the big glitter)
- plastic bowl or cup
- paintbrush
- masking tape

1. Tape off any areas of the shoe you don’t want glitter on. (Heel, shoe bottom, etc)
2. In the plastic bowl mix together the modge podge and glitter. Stir it together. How much is up to you, but the more glitter the fewer coats you need to use. It should be thick, somewhere between a thick syrup and peanut butter in consistency.
3. Using the paintbrush paint on a thick layer of glitter glue. Cover the entire area thoroughly, but make sure it is an even layer. Don’t panic that the glue is white–it will dry clear.
4. Let it air dry for 15-20 minutes, then apply a second and third coat, if necessary.
5. Let dry for 3-4 hours for it to fully set.
All in all I’m pretty happy! The shoes I used took three coats to get everything covered right. As you can see my seven year old helped me with the application, so you know it was simple to do! I would make a few suggestions: use fine glitter, not the large glitter. (Mine is just a little too big.) If using silver glitter, I suggest mixing in a small amount of black, gold or bronze glitter just to add some depth of color. I will be doing that next time. Mix the glitter together dry and then when you have the right tone you can mix that into the glue. Last, keep a paper towel nearby to wipe your hands and any glitter that might go astray. Pay special attention to the area around the inside of the shoe–the glue can be rather sharp once dry. Remove it so you don’t end up with blisters.
These were an incredibly easy project. It only took a couple of hours and transformed a pair of ho-hum shoes into fabulous shoes! I made these back in February for a conference I was going to, and they have held up well. I now am thinking that a trip to Goodwill is in order, to shop for old shoes that I can now transform.

