
Have you ever seen those fancy lotion bars at craft fairs or expensive beauty boutiques? They look so pretty and smell SO good! They promise all kinds of great benefits for your skin over the stuff you buy at the department store counter. But here’s a little secret: while they are fantastic for your skin, you don’t need to pay the high price! They are very simple to make, use only a few all-natural ingredients. You can make them yourself at home with only a few minutes of time!
I’ve read a lot of recipes for making your own lotion bars, and frankly, I think most make it way too complicated. I kept mine simple. I chose beeswax, shea butter and sweet almond oil for mine. Beeswax is an excellent skin softener, acting as both a humectant and a protectant for your skin. Beeswax is high in vitamin A, and is excellent for irritated or dry skin. Shea Butter is excellent for damaged skin, often used to treat burns, and used in many expensive creams to promote cell regeneration and circulation for aging skin. Sweet Almond Oil is high in vitamins E and B, one of nature’s best moisturizers. These three alone will do wonders for your skin! If you’ve never used a lotion bar before, they’re very simple: you let the bar sit in your hand for a few seconds to warm up, then rub gently along your skin. You will get deep moisture that really lasts from a good lotion bar, unlike cream lotions that typically evaporate or need frequent reapplication.
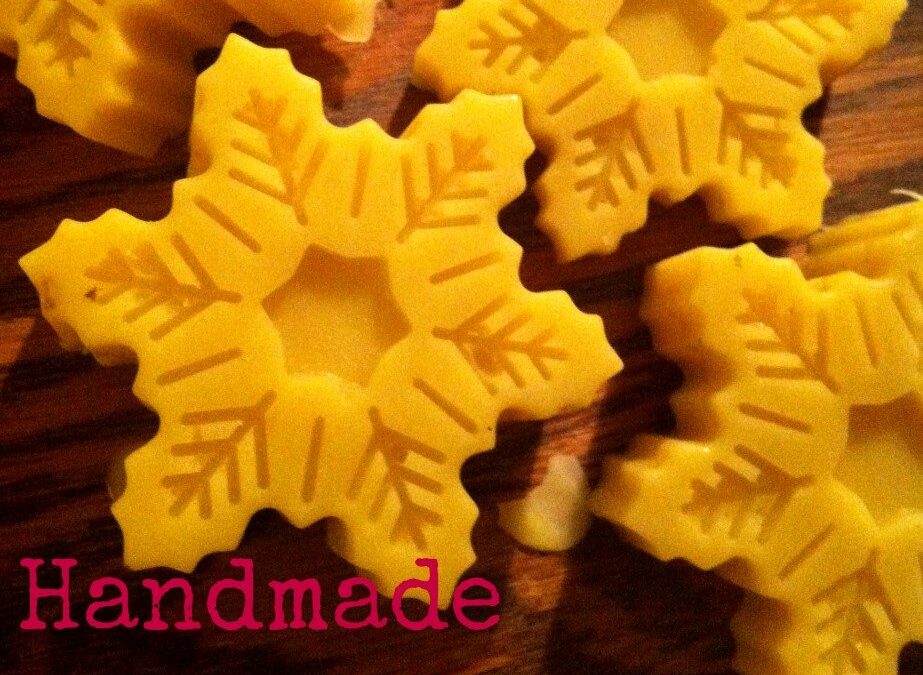
As you can see I made mine in different shapes. Some went into the heart shaped molds you see below, while others went into the snowflake molds in the photo above. I was impressed with how quick the process was, from beginning to end. I wrapped these up and gave them away as Christmas gifts. My friends have raved about how nice they smell and how smooth their skin now feels. The heart shaped mold is from IKEA–these would make great Valentine’s Day gifts!
![IMG_7068[1]](http://www.ingodseconomy.com/wp-content/uploads/2013/01/IMG_70681-1024x764.jpg "Great tutorial on making those fancy lotion bars at home for way less than at the pricey boutiques! Great Valentine's Day gift!")
Ingredients:
- 1 part beeswax
- 1 part shea butter
- 1 part almond oil
- 30-40 drops essential oils (your choice)
- Silicone molds, like for ice cubes or baking
Directions:
1. Using a double boiler, add water to the bottom pan and set to boil. Once boiling, reduce the heat to medium-low. Add the beeswax to the top pan and cover the pan. Stir occasionally until it is fully melted.
2. Add in your almond oil and stir well to blend.
3. Add in any essential oils you desire. I used a blend of myrrh, lavender and frankincense. I added 20 drops of myrrh, and ten of each of the others.
4. Add in the shea butter. Stir continuously until fully melted. Shea butter can be finicky, so once it is melted do not let it sit on the stove for too much longer.
5. Pour the mixture into your molds, filling to the top.
6. Set aside in a cool area. They should begin to harden quickly. Mine are usually fully set in about an hour.
7. Remove gently from the molds and enjoy!
Beeswax has a lovely soft scent of its own, and is a great protector against chapped, raw skin. I chose these three oils because they all help reduce stress and aide in relaxation. Myrrh is an excellent germ killer, while lavender is wonderful for relaxation. Both frankincense and lavender are wonderful for anti-aging and for repairing any skin damage. If you’ve never smelled myrrh, it has a lovely deep, woodsy scent without being overpowering.
I did keep a couple of these for myself, and love the soft scent of them. It is such a nice ritual after a long shower or bath to smell these. I love that they not only soften and smooth my skin, but that they protect it from the harsh winter cold too!
UPDATE: Since writing this in January, I’ve found so many more uses for these!
- This is hands down one of the best lip balms I’ve ever used.
- If you have raw skin from the winter soaps and frequent hand washing, applying this at night helps heal the damage!
- It has really helped my daughter’s winter skin rashes, which show up on her legs and arms during the harsh winter air. Better than any other cream or brand that we have tried!